Many of us might be interested to create there own shared contacts on personal network. here is the way,i created own privately shared contacts/address information with in the family members.
It gave me great deal of advantage of making sure, that all member in my family has the details of every common family friend, relatives we know.
Operating System (Server)
OS Yosemite (10.10.2) Server connected to home network
Apple server cost only $20, and it has good support to CardDAV protocol.
Steps:
1. Create User Account
2. Set Contacts server
3. Add internet account
4. Configure the sharing account to Address book
5. Configure iPhone contacts
1. Create Shared User Account
Create an user account as "Sharing Only", this account will be used to sync contacts between all iPhone of the family members.
To create an "Sharing Only" account
System Preference ---> Users & Groups

Click on + (Add user account).
in User & Groups window make sure to select "Sharing Only" and enter the required info "Full Name", "Account Name" and Password.

On successful creation of sharing only account you can see, newly created account in list of users. The account i created - ContSharingAcc.
later in the below steps the same account has to be added to Internet Accounts
2. Set Contacts server
To switch on the contacts server, from the launch pad select Server app and login to server.
From the list of Server, select Contacts and switch on the server.

3. Add account to Internet sharing
Make sure that the Sharing only account created above is shared as internet account. To do so
select Internet Accounts from the system preference and click on Add Others account.

A list of supported account type window will popup, select Add a CardDAV account

On clicking on "Create" account creation window is displayed, enter Sharing Account details (which was created in first step)
User Name - ContSharingAcc (This is the sharing account, which is created in step one)
Password - ******* (Password of sharing account created)
Server Address : Host Name (example for local machine - myMac.local

On Successful creation of the account - it will be listed in list of accounts on left.

4. Configure the sharing account to Address Book
To configure address book, click on Configure in Address Book..


We are good to go....
Shared address book can be accessed to iPhone cross the family members.
5. iPhone setting
Settings -> Mail, Contacts,Calender->Add AccountAdd Account screen on iPhone will be listed with existing templet for iCloud, Exchange, Yahoo, Google and Other which is the last one.
By clicking on "Other" the screen will navigate to Other screen.

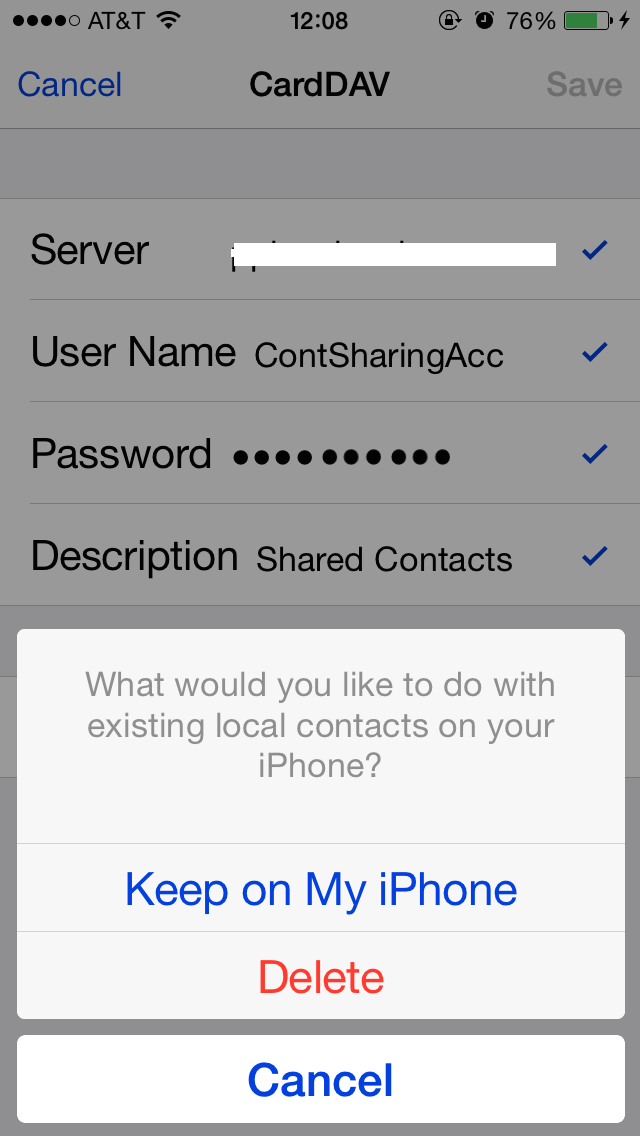
Server : the format of the mac local server name - servername.local
User Name : ContSharingAcc (This is the sharing account, which is created in step one)
Password : (Password of sharing account created on mac)
Clicking on the next will verify the account info (this process will take some time)
After successful verification of the account you should see below screen.
VERY IMPORTANT - Make sure you keep existing local contacts on your iPhone
Hope this will help you.
No comments:
Post a Comment